 IT Services
Scoping hardware options
On the hardware side, the open security camera project would ultimately not exist if there were suitable hardware kits readily available. But, the physical device that will act as a camera had to be created. However, to the extent possible, our goal was to avoid starting from scratch. In this post, I describe the components selected and the reasoning behind it.
This post is part of a series
- The open security camera project
- MVP’s for the camera and existing alternatives
- Scoping hardware options
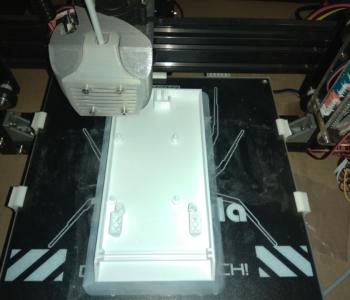
- Creating the case
- Tackling mounting
- Assembly and installation
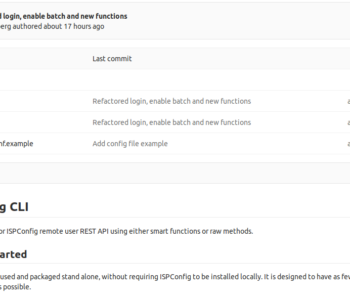
- Software stack
- Security camera hardware or as a service from Molnix
- The how-to for DIY people
Raspberry Pi to the rescue
As mentioned in the previous post, most of the relevant software projects’ supported hardware include Raspberry Pi. The other supported alternatives are webcams and IP cameras. Webcams won’t cut it since they do not stream over IP, and USB cables cannot be long enough. IP cameras, in turn, are effectively what we are building in the first place since none of them seem to be open source.
After narrowing down the options to Raspberry Pi, the next step is the selection of Raspberry Pi model. There is no particular absolute requirement here, so the selection is down to to a few trivial considerations:
- The Zero and Zero W are nice, but not available in bulk
- Starting with the latest model B makes sense
- Power draw (older models use less power, but you can also cap the CPU instead)
- Camera module compatibility (NB: Zero has a different connector)
- LAN availability
- WiFi availability
- USB ports availability
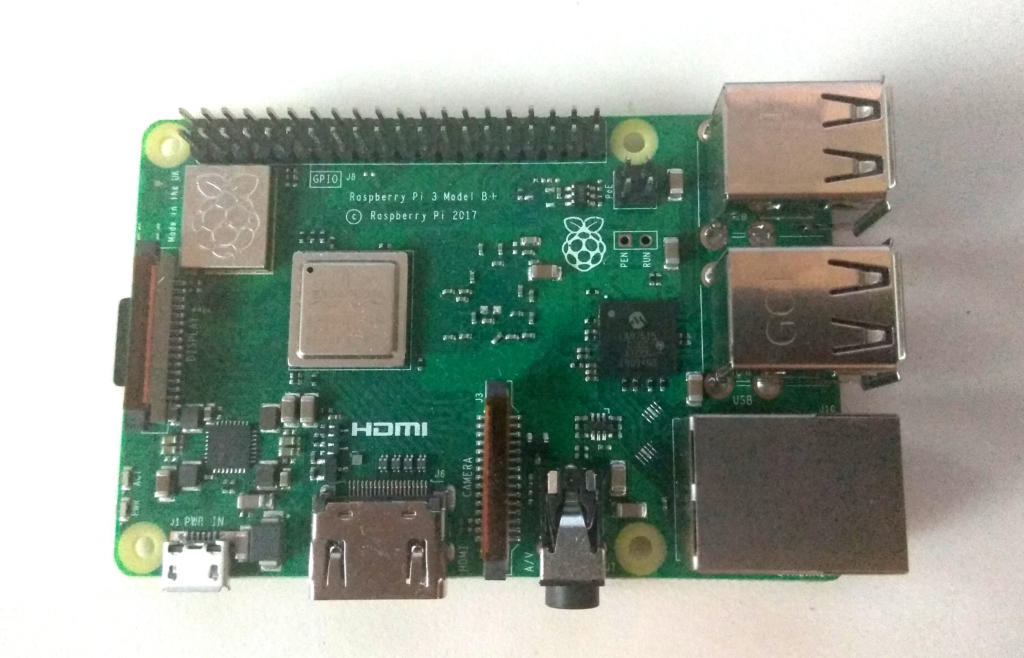
In our case, we settled on the latest model, Raspberry Pi 3 Model B+.
Camera
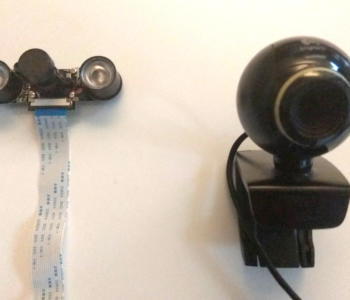
While it would be possible to use a webcam connected to the Raspberry Pi, there are several advantages with using a Raspberry Pi camera module. Thus, we will stick to these easily available alternatives. They all seem to follow the same form factor, which should make finding or creating a case easier.
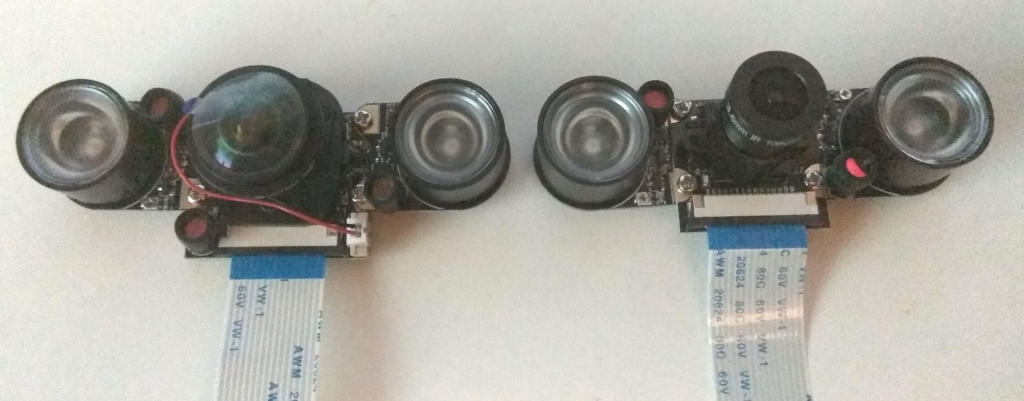
While prototyping, we have been using five different camera modules. The key difference is in the lenses – ranging from 40 degree narrow angle to 170 degree fish-eye lenses.
Power
A key requirement is for the camera to support Power over Ethernet. This enables remotely powering the camera. It also makes backup power simple, since the UPS can be centralized.
The official PoE hat is bulky and expensive. It also looks like it is designed to dissipate a lot of heat. These combined have me wondering what went wrong there.
Instead, any ordinary passive PoE + DC buck converter solution should do the trick. In our case, we decided to go for slightly over-dimensioned designs at least in the prototyping phase. This turned out to make sense since the buck converter follows typical Chinese marketing style.
Power over Ethernet (PoE) module
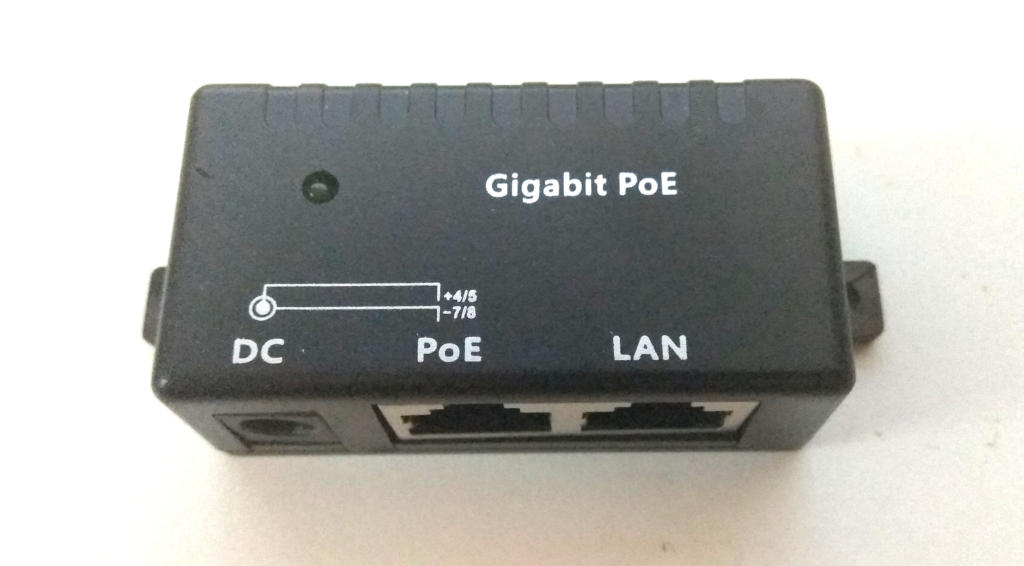
The model we got for PoE splitting is Gigabit-capable. This may be of some use with the Raspberry Pi 3 Model B+ pushing up to 300Mbps.
Another of these modules can be placed at the other end of the link to create a single PoE supply. For multiple PoE outputs, consider a PoE switch or a module with multiple PoE injectors.
This model takes a 2.1 x 5.5 DC plug – that’s maybe the most common one out there. In other words, chances are that your old router’s wall wart will do fine.
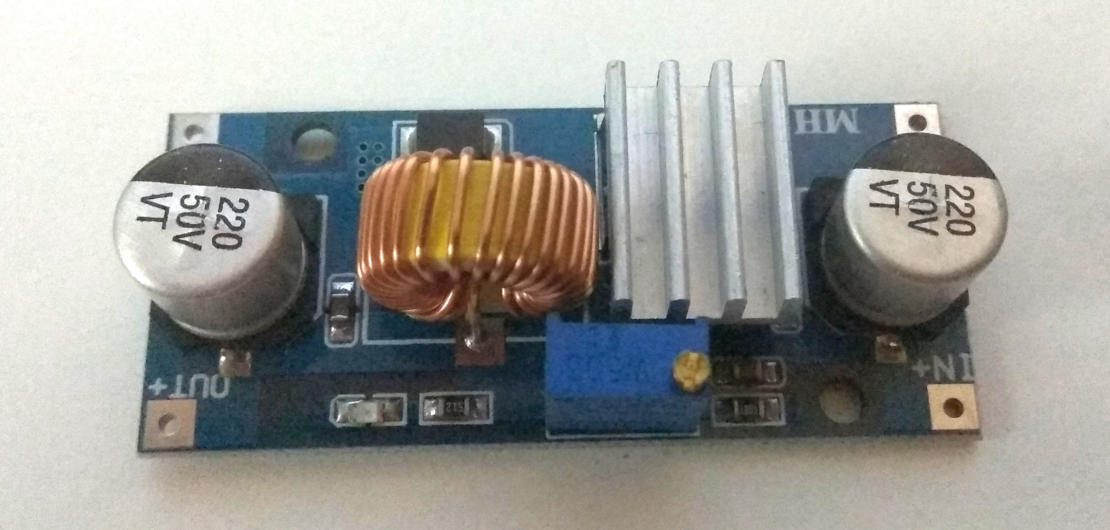
DC-DC buck (step-down) module

The model we got for DC conversion is advertised as capable of 5A. So it should be good for up to 2A.
Another option that having the DC-DC module enables is to use almost any 6-38V DC PSU. This can be relevant in a situation where the cables have to be long and the connection is over WiFi. In this case, the PoE module can be skipped.
Obviously, the Raspberry Pi can still be powered through microUSB. This makes sense especially when connecting over WiFi. In this case, both the DC-DC module and PoE module can be skipped.
Other components
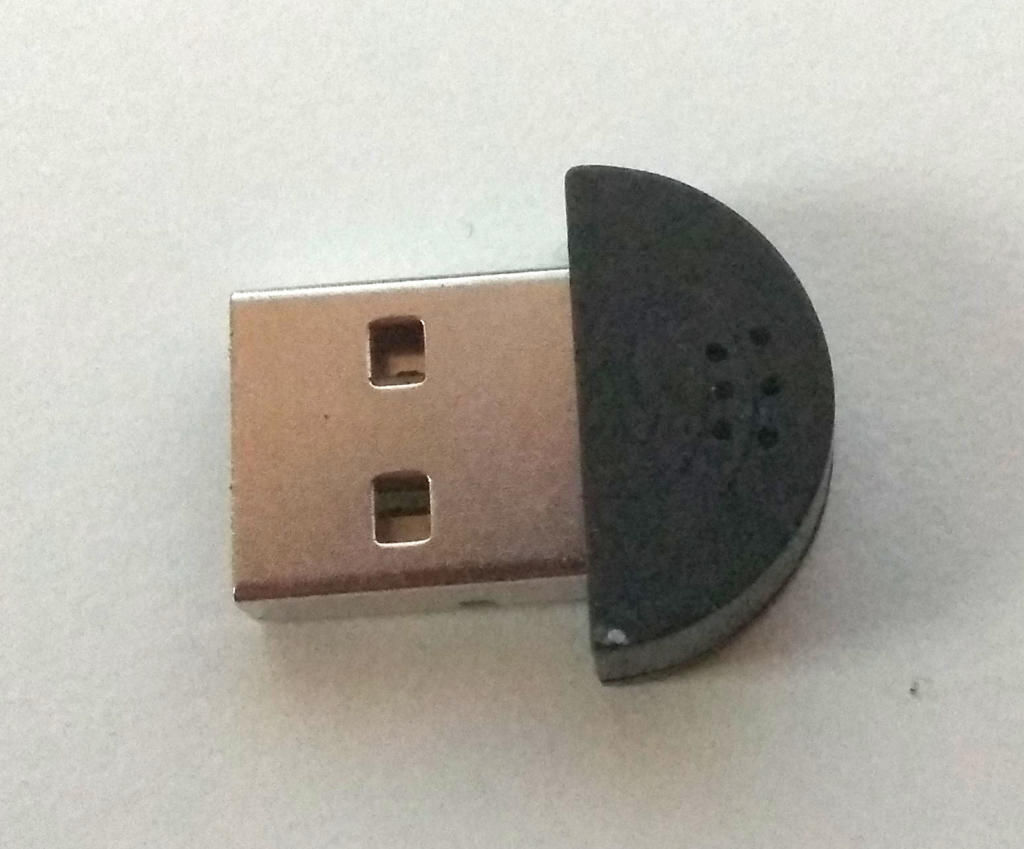
In addition to the above, the rest of the components required are basic. The Raspberry Pi can use a normal specification PSU and microSD card. As an option, we are checking if a microphone can be added to the USB to support audio to complement the surveillance video stream.
Some cameras also feature speakers to allow bidirectional communication. We might look into this later, and the Raspberry Pi at least provides the facilities as a good starting point.
Hardware roundup
Prices are approximate and all parts are available online. Note that no case is included yet.
| Part | Cost (€) |
| Raspberry Pi 3 Model B+ | 35 |
| Camera (depends on model) | 15-20 |
| 5A DC-DC module | 1 |
| USB Mic | 1 |
| 4GB microSD car | 2 |
| PoE injector/splitter | 3 |
| 12-36V PSU 18W | 3 |
| Cables and connectors: 2.1 x 5.5mm DC 2x RJ45 microUSB male Cat5e or better cable 2x 0.75mm2 cabl | 2 |
Your thoughts? Improvement ideas? They are welcome in the comments below.
In the next post, I outline the work on creating a case for all of these parts.