 IT Services
Creating the case
While the electronics components are pretty much off the shelf, the housing is not. There is no match in existing open designs for the specific combination of modules and criteria for this project. Instead, I created a case from scratch. In this post, I present the work that went into creating the weather-proof case that will house the open security camera.
This post is part of a series
- The open security camera project
- MVP’s for the camera and existing alternatives
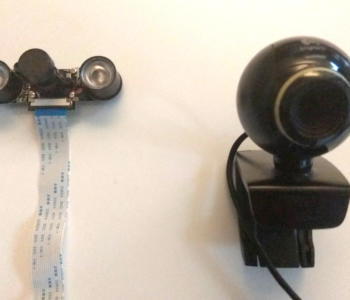
- Scoping hardware options
- Creating the case
- Tackling mounting
- Assembly and installation
- Software stack
- Security camera hardware or as a service from Molnix
- The how-to for DIY people
Design
There are many Raspberry Pi camera designs freely available on sites such as Thingiverse. However, none of the are quite as comprehensive as the one we need. Going back to the MVP’s, something new was needed. Specifically, quite few designs on Thingiverse actually contain the sources to the design. Usually the downloadables are just STL files for printing. As a result, the best I could do was look at the designs or snippets of code of similar projects and try to learn.
I did the the early design on paper, since it allowed quick outlining of the actual components in full size.
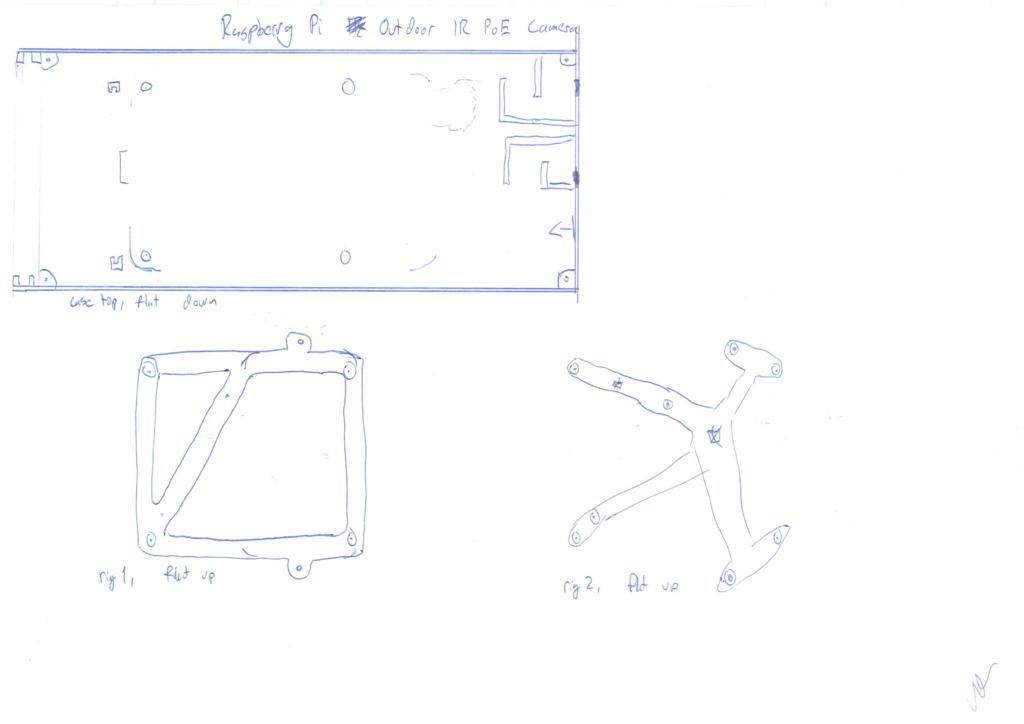
There were a few things I took into account when designing in addition to the core project criteria. The first and most important, was that the design had to be printable. This entails making models that preferably have one flat side for good adhesion. Furthermore, there should be no overhanging parts. And to be practical for printing with affordable printers, it has to fit in 20x20x20cm build area while avoiding wasting filament.
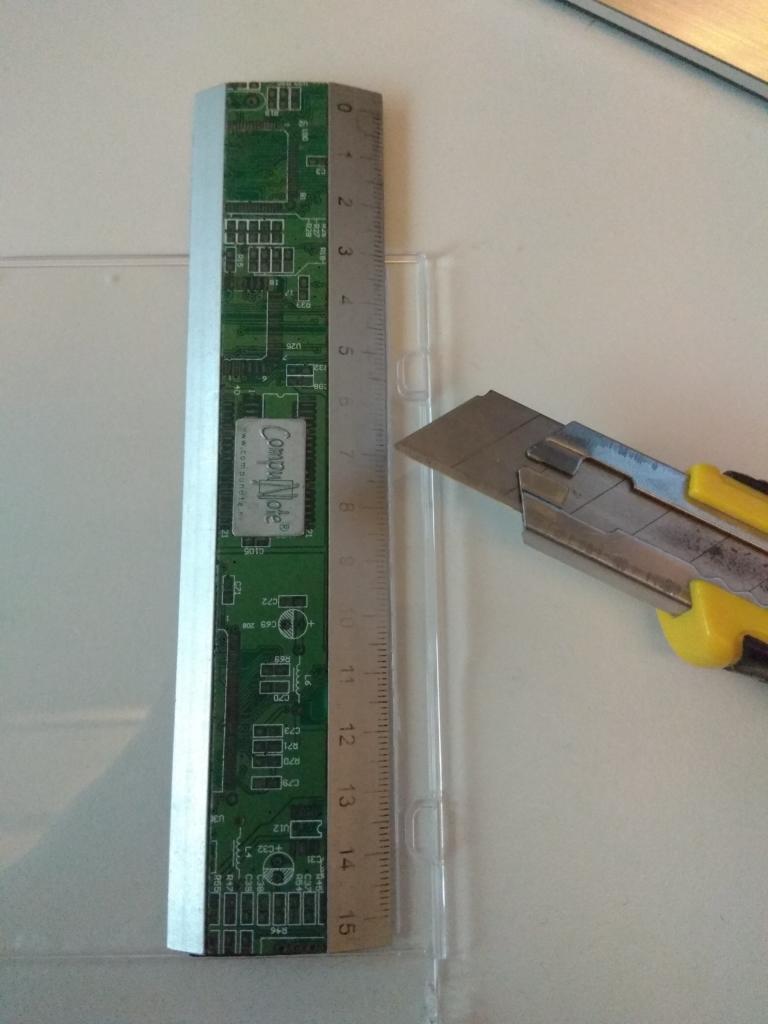
The second design principle I aimed for was to minimize number of non-printable parts required and assembly complexity while allowing decent 2-axis pointing. A conscious decision was to leave servos out at this point. As of this writing, it looks like the case will only need a window in addition to the printable parts. Mounting in turn requires two screws. A CD case cover served as the raw material for prototyping the window. For production, I have not yet researched which kind of transparent materials fit IR cameras the best.
Third, it had to work on a fully open tool chain. Related to this, it also had to suit my particular skills (read: lack of any 3d design experience and stick figure level artistic capacity).
OpenSCAD is wonderful
Once I had decided on the general design principles, the selection of design app was easy. OpenSCAD allows me to write the design rather than draw it, which was a huge relief. It also nicely allows using variables. This, in turn, makes testing and improving the design easy, as well as inherently making the whole design parametrizable.
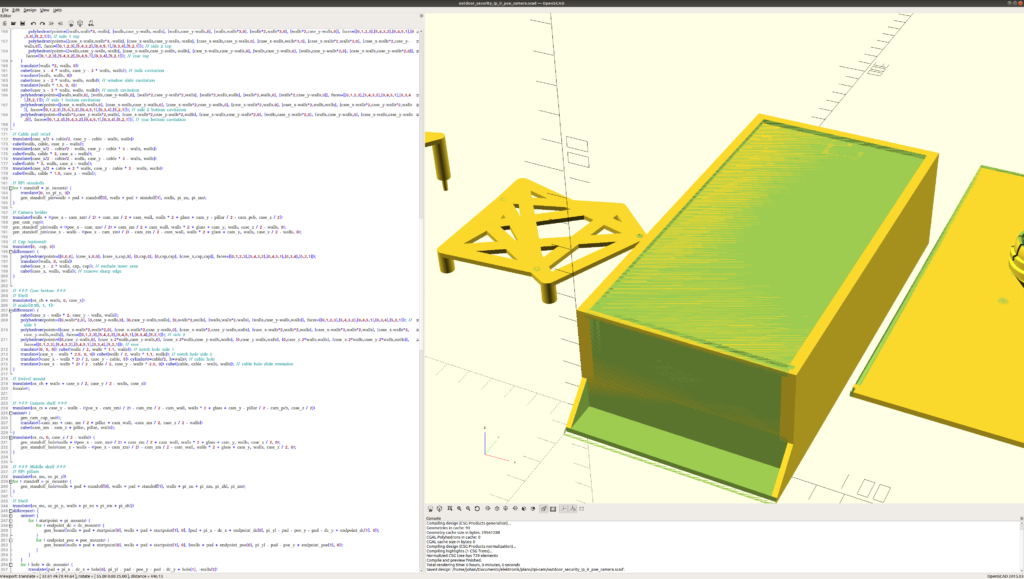
The main downside of OpenSCAD is that it feels very slow and has rendering problems with the preview. This can be seen in the screenshot above, as the case is hollow. Rotating the design on screen can be laggy, so when working on the design I usually commented out everything but the exact section I was working on. The smoothness setting is also key here – it only needs to be high for final renders.
Prototyping and printing
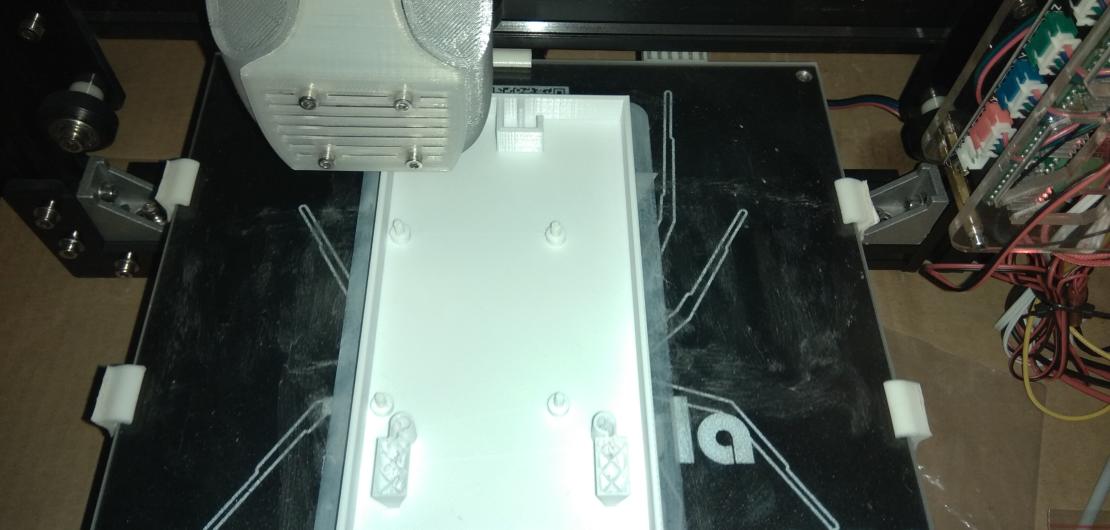
My biggest surprise throughout prototyping the case, was the precision. I had expected to add tolerances here and there to make things fit. In the end, there was only on place – the case bottom notch – where this was needed. In fact, I even ended up removing scale directives from the code where I had anticipated trouble.

Even the first full case print in the picture above worked. It was a bit wobbly and I since reduced the volume by about 20% while improving stability. This was quite encouraging. That said, I certainly feel open for suggestions regarding esthetics.
Download
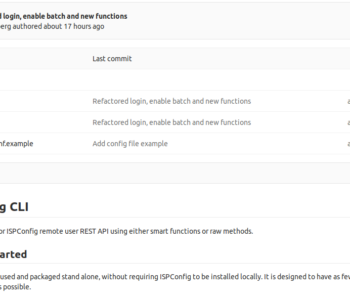
As promised, the design is freely available under the Creative Commons – Attribution – Share Alike license. I have published the source files in the Molnix open source repository. When the project finishes, the printable designs will also be published on Thingiverse.
In the next article, I provide a short and specific update on the mounting solution.